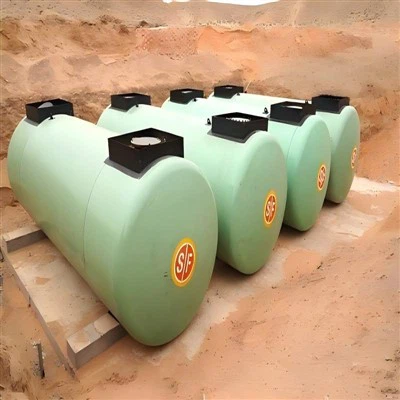
Hey there! I'm a supplier of 20FT Tank Containers, and today I wanna talk about how to handle a 20FT Tank Container with a damaged valve. It's a situation that can pop up in our line of work, and knowing how to deal with it is super important.
First off, let's understand why a valve in a 20FT Tank Container might get damaged. There could be a bunch of reasons. Maybe it was due to rough handling during transportation. Sometimes, if the container is moved around too aggressively, the valve can take a hit. Another reason could be corrosion. If the container is used to store certain chemicals or substances that are corrosive, over time, the valve can start to break down.
When you first notice that the valve of a 20FT Tank Container is damaged, the very first step is to ensure safety. Safety should always be our top priority. If the container is filled with a hazardous material, you need to keep people away from the area. Set up some barriers or warning signs to prevent anyone from getting too close.
Next, you gotta assess the situation. Take a good look at the valve and figure out how bad the damage is. Is it a minor crack, or is the valve completely broken? If it's just a small crack, you might be able to do some temporary repairs. But if it's a major break, you'll probably need to replace the valve.
For minor damage, you can use some sealing materials to try and stop any leaks. There are special sealants available in the market that can be applied to the cracked area. Make sure to follow the instructions on the sealant carefully. But remember, this is just a temporary fix. You still need to get a proper replacement valve as soon as possible.
Now, if the valve needs to be replaced, you'll have to drain the container first. This is a crucial step and should be done with extreme care. If the container is filled with a liquid, you need to have a proper storage area ready to receive the liquid. You can use a pump to transfer the liquid to another container. Make sure the new container is suitable for storing the substance.


Once the container is drained, you can start the process of replacing the valve. You'll need the right tools for this job, like wrenches and screwdrivers. It's important to use the correct size of tools to avoid causing any more damage. When removing the old valve, be gentle and make sure not to damage the surrounding area.
After removing the old valve, clean the area where the new valve will be installed. This will ensure a proper seal. Then, carefully install the new valve. Make sure it's tightened properly, but don't over - tighten it as that can also cause problems.
Now, let's talk about the importance of regular maintenance. To prevent valve damage in the first place, you should have a regular maintenance schedule for your 20FT Tank Containers. This includes checking the valves for any signs of wear and tear, corrosion, or damage. You can also lubricate the valves periodically to keep them working smoothly.
If you're in the market for a 20FT Tank Container, we've got some great options. Check out our 20FT Tank Container page. And if you're interested in an ISO Fuel Container, you can visit our ISO Fuel Container page.
Handling a 20FT Tank Container with a damaged valve is a serious task, but with the right knowledge and steps, you can manage it effectively. Whether you're dealing with a minor issue or a major valve replacement, always put safety first and follow the proper procedures.
If you have any questions or are interested in purchasing our 20FT Tank Containers, feel free to reach out. We're here to help you find the best solution for your needs.
References:
- General knowledge of tank container maintenance and handling
- Industry standards for tank container valve repair and replacement