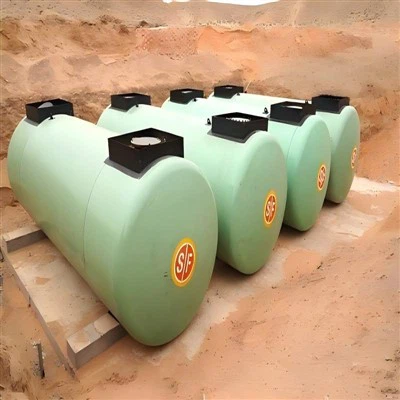
As a supplier of 20 ft ISO tanks, ensuring the safety and proper functioning of these containers is of utmost importance. One critical component that requires regular testing is the pressure relief valve. In this blog post, I'll share a comprehensive guide on how to test the pressure relief valve of a 20 ft ISO tank, drawing from my experience in the industry.
Understanding the Importance of Pressure Relief Valves
Pressure relief valves play a vital role in maintaining the safety of ISO tanks. These valves are designed to automatically release excess pressure within the tank, preventing over - pressurization that could lead to catastrophic failures, such as tank rupture or explosion. For a 20 ft ISO tank, which is commonly used for transporting various liquids and gases, the pressure relief valve acts as a safeguard against potentially dangerous situations.
Pre - Test Preparation
Before starting the testing process, it's essential to gather all the necessary tools and equipment. You'll need a pressure gauge that is calibrated and suitable for the pressure range of the ISO tank. Additionally, ensure that you have safety gear, including gloves, goggles, and appropriate protective clothing.
It's also crucial to review the tank's documentation, such as the manufacturer's specifications and maintenance records. This information will provide valuable insights into the valve's design, pressure settings, and any previous maintenance or testing history.
Step - by - Step Testing Procedure
Step 1: Isolate the Tank
Before testing the pressure relief valve, the tank must be isolated from the rest of the system. This involves shutting off all inlet and outlet valves to prevent any flow of substances into or out of the tank during the test. Ensure that the tank is depressurized to a safe level before proceeding.


Step 2: Inspect the Valve
Conduct a visual inspection of the pressure relief valve. Look for any signs of damage, such as cracks, corrosion, or loose connections. Check the valve's seals and gaskets for integrity. Any visible damage may indicate that the valve needs to be repaired or replaced before testing.
Step 3: Connect the Pressure Gauge
Carefully connect the calibrated pressure gauge to the valve's test port. Make sure the connection is tight to prevent any leaks during the test. The pressure gauge will allow you to monitor the pressure within the tank accurately.
Step 4: Apply Pressure
Slowly and steadily increase the pressure within the tank using a suitable pressure source. This could be a compressor or a pressure - generating device. As the pressure rises, closely monitor the pressure gauge.
Step 5: Observe the Valve Activation
Pay close attention to the pressure at which the pressure relief valve starts to open. This is known as the set pressure. Compare this value with the manufacturer's specified set pressure. If the valve opens at a pressure significantly different from the specified value, it may need adjustment or replacement.
Step 6: Check the Valve Closing
After the valve has opened and released the excess pressure, observe how it closes. The valve should close tightly once the pressure drops below the set pressure. If the valve fails to close properly or continues to leak, it indicates a problem that requires further investigation.
Step 7: Record the Results
Document all the test results, including the pressure at which the valve opened and closed, as well as any observations regarding the valve's performance. This documentation is essential for future reference and compliance purposes.
Post - Test Considerations
Once the testing is complete, carefully disconnect the pressure gauge and ensure that all connections are properly sealed. Re - open the inlet and outlet valves to restore normal operation of the tank.
If the pressure relief valve fails the test, it should be repaired or replaced immediately. It's important to follow the manufacturer's guidelines for valve maintenance and replacement to ensure the continued safety and reliability of the ISO tank.
Additional Resources
If you're interested in learning more about 20 ft ISO tanks, you can visit our ISO Fuel Container and 20FT Tank Container pages. These resources provide detailed information about our products and their features.
Conclusion
Testing the pressure relief valve of a 20 ft ISO tank is a critical process that ensures the safety and proper functioning of the container. By following the steps outlined in this guide, you can effectively test the valve and identify any potential issues. Regular testing and maintenance of pressure relief valves are essential to prevent accidents and ensure compliance with safety regulations.
If you're in the market for high - quality 20 ft ISO tanks or have any questions about pressure relief valve testing, we encourage you to contact us. Our team of experts is ready to assist you with your purchasing needs and provide you with the best solutions for your business.
References
- Manufacturer's manuals for 20 ft ISO tanks and pressure relief valves.
- Industry standards and regulations related to pressure relief valve testing.