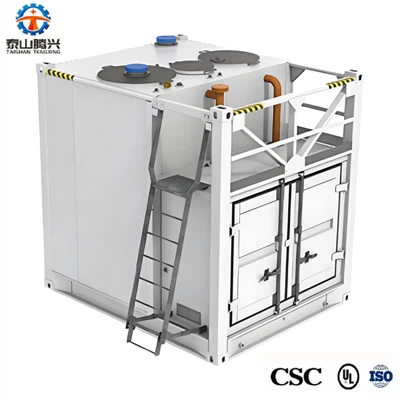
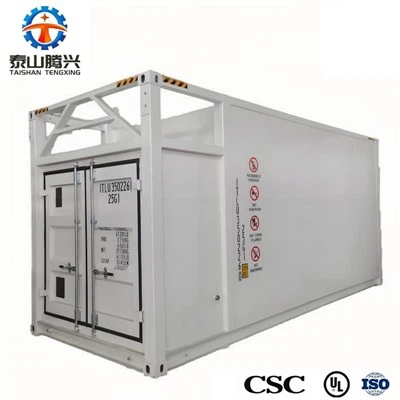
Hey there! As a supplier of 20 ft ISO tanks, I've seen firsthand how important it is to have a properly installed drain valve. It's not just about getting rid of the liquid inside the tank; it's about ensuring safety, efficiency, and compliance with industry standards. In this blog post, I'll walk you through the steps of installing a drain valve on a 20 ft ISO tank, sharing some tips and tricks along the way.
Why You Need a Drain Valve
Before we dive into the installation process, let's talk about why a drain valve is so crucial. A 20 ft ISO tank is used to transport all sorts of liquids, from chemicals to food products. When it's time to empty the tank, a drain valve allows you to do it quickly and safely. It also helps with cleaning and maintenance, as you can easily flush out any residue or contaminants.
What You'll Need
To install a drain valve on a 20 ft ISO tank, you'll need the following tools and materials:


- Drain valve: Make sure it's compatible with your tank and the type of liquid it will be carrying. You can find a variety of drain valves on the market, so do your research and choose one that meets your needs.
- Welding equipment: If your tank doesn't have a pre-drilled hole for the drain valve, you'll need to weld one in place. This requires some welding skills and equipment, so if you're not experienced, it's best to hire a professional.
- Sealant: To prevent leaks, you'll need a high-quality sealant that can withstand the pressure and temperature of the liquid in the tank.
- Gasket: A gasket is used to create a tight seal between the drain valve and the tank. Make sure it's the right size and material for your application.
- Wrenches: You'll need a set of wrenches to tighten the bolts and nuts on the drain valve.
- Safety gear: Welding and working with chemicals can be dangerous, so make sure you wear appropriate safety gear, such as gloves, goggles, and a welding mask.
Step-by-Step Installation Process
Now that you have everything you need, let's get started with the installation process.
Step 1: Prepare the Tank
The first step is to prepare the tank for the installation. This involves cleaning the area where the drain valve will be installed and removing any debris or rust. You can use a wire brush or sandpaper to clean the surface.
Step 2: Mark the Location
Next, you'll need to mark the location where the drain valve will be installed. This should be at the lowest point of the tank to ensure that all the liquid can be drained out. Use a measuring tape and a marker to mark the center of the hole.
Step 3: Drill the Hole
If your tank doesn't have a pre-drilled hole for the drain valve, you'll need to drill one. Use a drill bit that's the same size as the drain valve flange. Make sure you drill the hole straight and at the correct depth.
Step 4: Weld the Flange
Once the hole is drilled, you'll need to weld the drain valve flange in place. This requires some welding skills, so if you're not experienced, it's best to hire a professional. Make sure the flange is centered and level before welding.
Step 5: Install the Gasket
After the flange is welded in place, you'll need to install the gasket. Apply a thin layer of sealant to both sides of the gasket and place it on the flange. Make sure the gasket is centered and aligned with the holes in the flange.
Step 6: Install the Drain Valve
Now it's time to install the drain valve. Place the drain valve on the gasket and align the holes in the valve with the holes in the flange. Insert the bolts and nuts and tighten them using a wrench. Make sure the valve is tightened evenly to prevent leaks.
Step 7: Test the Valve
Once the drain valve is installed, it's important to test it to make sure it's working properly. Fill the tank with water and open the drain valve to see if the water drains out smoothly. If there are any leaks, tighten the bolts and nuts or apply more sealant.
Tips and Tricks
- Choose the right drain valve: Make sure the drain valve you choose is compatible with your tank and the type of liquid it will be carrying. Consider factors such as the size, material, and pressure rating of the valve.
- Use a high-quality sealant: To prevent leaks, use a high-quality sealant that can withstand the pressure and temperature of the liquid in the tank. Make sure you follow the manufacturer's instructions when applying the sealant.
- Weld the flange properly: Welding the flange is a critical step in the installation process. Make sure you have the necessary skills and equipment to do it properly. If you're not experienced, it's best to hire a professional.
- Test the valve before use: Before using the tank, make sure you test the drain valve to make sure it's working properly. This will help you avoid any potential problems or leaks.
Conclusion
Installing a drain valve on a 20 ft ISO tank is a relatively simple process, but it requires some skills and equipment. By following the steps outlined in this blog post and using the right tools and materials, you can ensure that your drain valve is installed correctly and working properly. If you have any questions or need further assistance, don't hesitate to contact us. We're a leading supplier of 20FT Tank Container and ISO Fuel Container, and we're here to help you with all your tank needs. Whether you're looking to purchase a new tank or need to install a drain valve, we can provide you with the products and services you need. Contact us today to learn more about our products and services and to discuss your specific requirements.
References
- Industry standards for ISO tank installation and maintenance
- Manufacturer's instructions for drain valve installation
- Welding guidelines and best practices